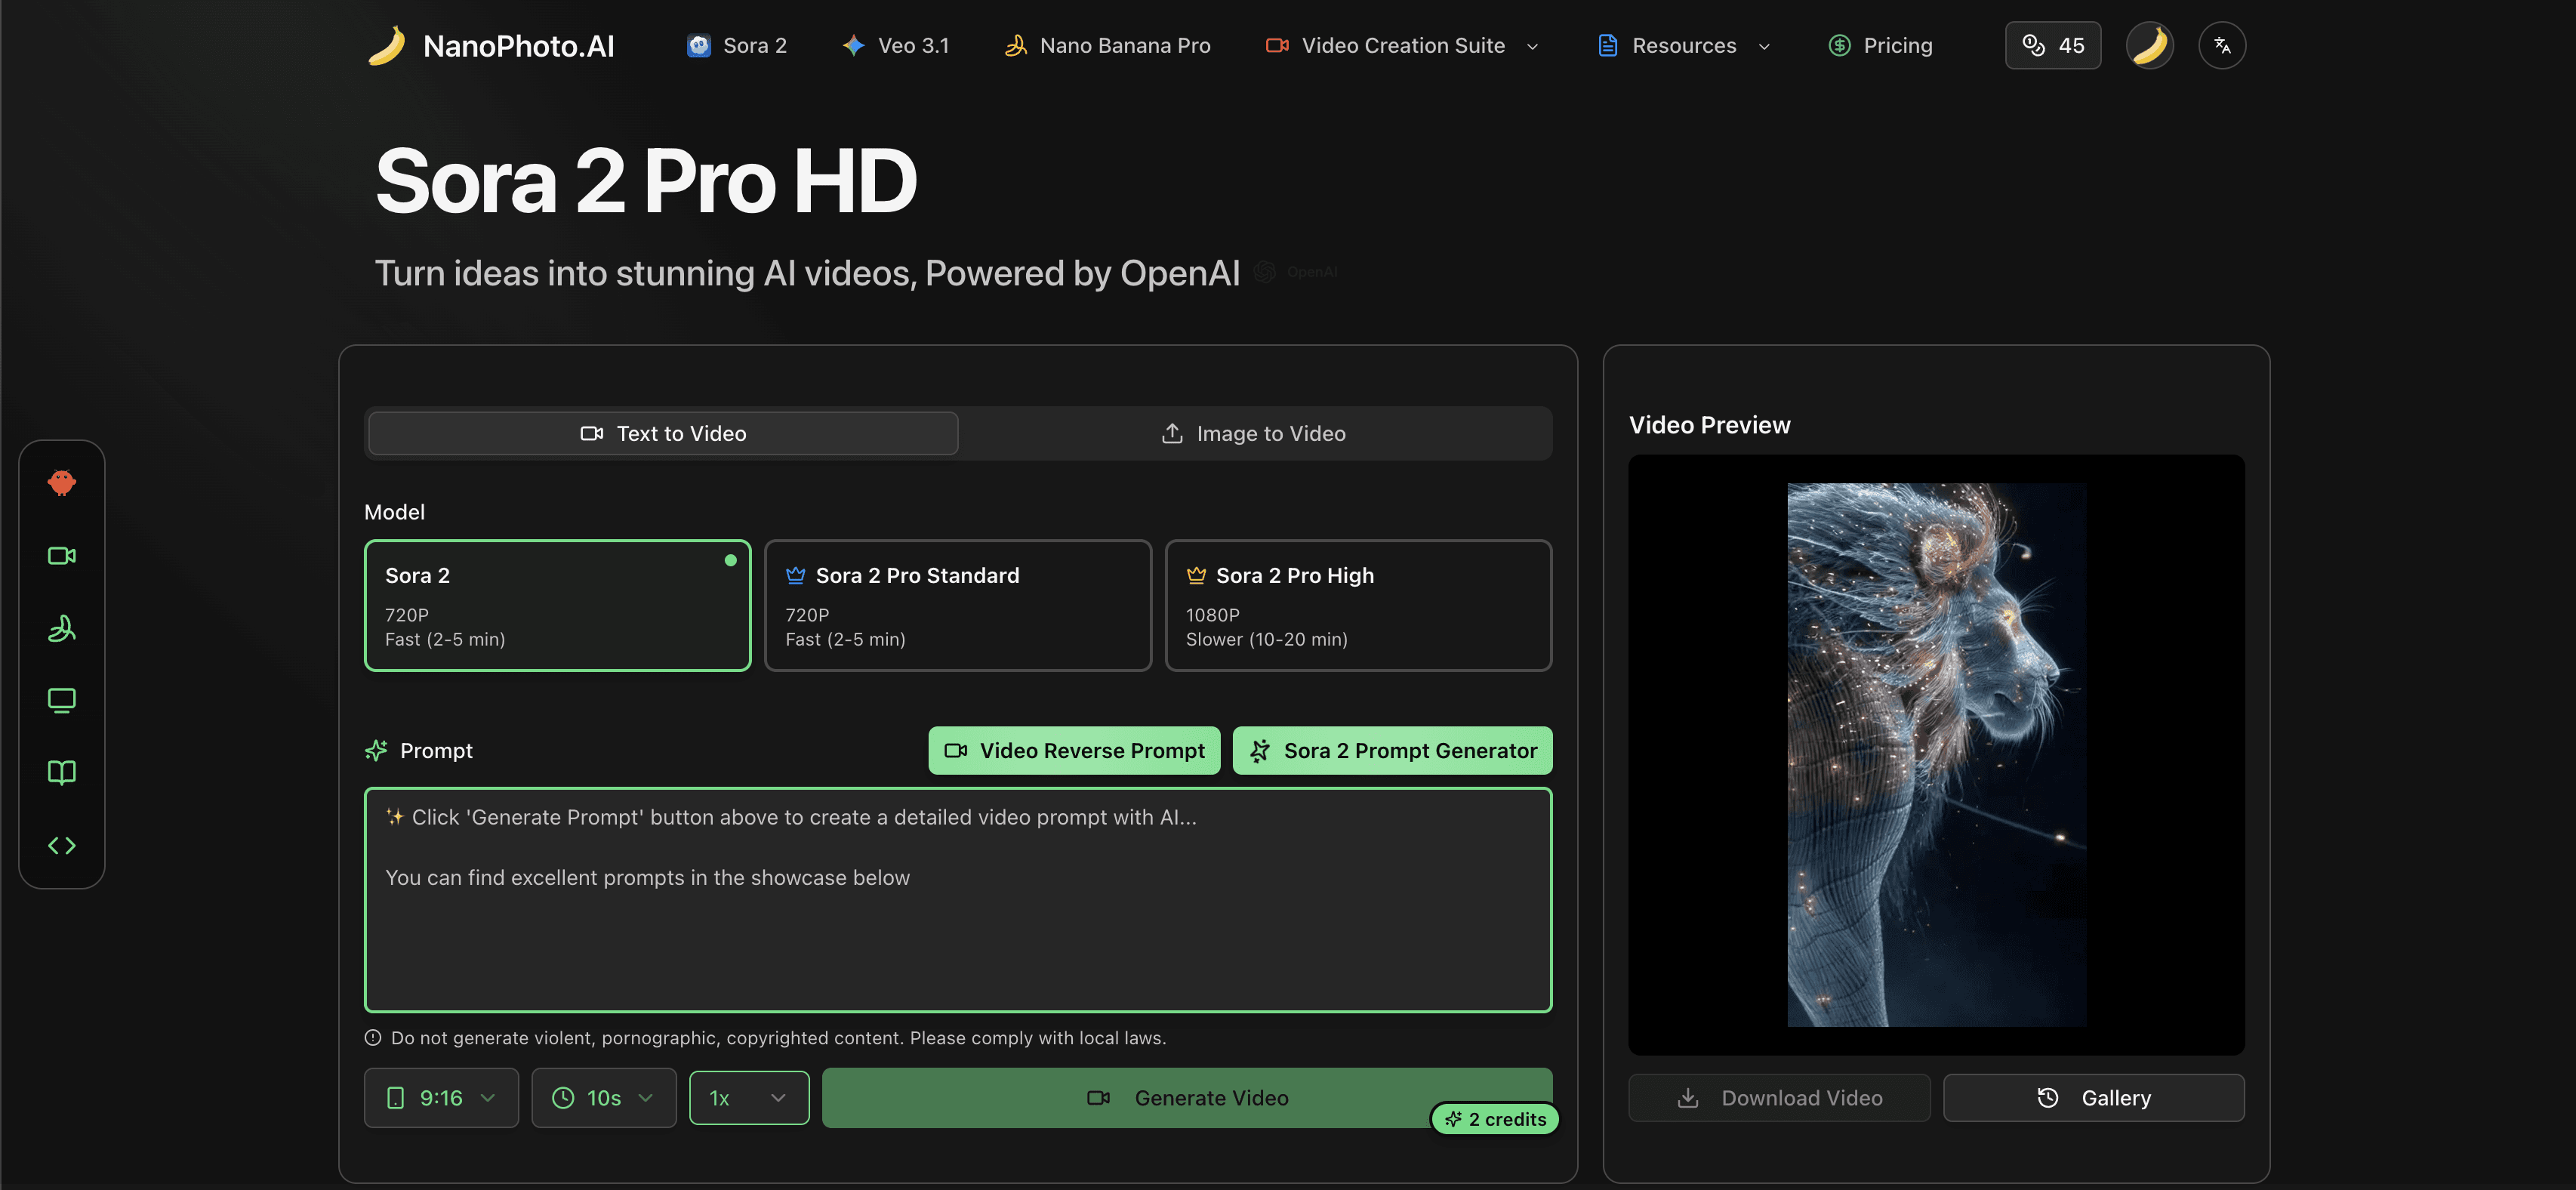
Hands-on Review: I Used NANO PHOTO to Turn an Idea into Video + Images (Sora 2 / Veo 3.1 / Nano Banana Pro)
From zero-friction onboarding and prompt assistance to credits and pricing logic—this is a real-user walkthrough end to end.
Most AI creation sites give me the same first impression: “A lot of features, but the entry points are scattered.” My experience with NANO PHOTO (NanoPhoto.AI) was the opposite. It puts video generation, image generation, prompt tools, watermark removal, inspiration, and community into a single product shell—so you can simply follow one goal (ship content) and keep moving.
This post is written from a “real user” perspective—what I clicked, how I chose tools, how I wrote/iterated prompts, how I turned images into video, and which details actually changed my outcomes and experience.
1) Start with the outcome: clear entry points
My goal was simple: create a 15–30 second short (for Shorts/TikTok) plus a matching cover image. On NANO PHOTO, the path looks like:
- Pick video generation:
Sora 2orVeo 3.1 - If you can’t write prompts: start with the Prompt Generator
- For multi-shot content: use Storyboard
- For the cover image: use
Nano Banana Pro
On the about page, the positioning is straightforward: make AI creation tools more accessible & affordable, offer Pay As You Go, and support users worldwide with 11 languages.
2) Video generation: Sora 2 for speed, Veo 3.1 for longer + multi-shot
A. Sora 2: text/image-to-video with minimal friction
I started with Sora 2 for a quick first version. It supports Text-to-Video and Image-to-Video, plus different quality tiers. What’s beginner-friendly is the UI: it keeps the essentials together (model, aspect ratio, style, prompt) and doesn’t overwhelm you with jargon.
My typical order:
- Choose aspect ratio (Portrait/Landscape) — I pick Portrait for shorts
- Decide “text-only” vs “reference image driven”
- Write the prompt (or click the Prompt Generator if needed)
It keeps you focused on the creative decision-making instead of the settings.
B. Veo 3.1: better for narrative and consistent multi-shot edits
If you’re doing more story-driven work (brand shorts, course segments), Veo 3.1 shines because it supports longer videos (officially up to 40 seconds) and multi-shot stitching with consistency. I think of it like this: Sora 2 is for fast iteration, Veo 3.1 is for turning a “working idea” into a more complete narrative.
3) Storyboard is the biggest time-saver
In real production, a lot of time is lost on “I can see it in my head, but I can’t break it into shots.” Sora Storyboard feels like a structured workbench: you describe the intent per scene, and it assembles a multi-shot sequence while keeping style consistent.
For ads, short dramas, or educational content, Storyboard usually gets you to “usable” faster than endlessly rerolling a single prompt.
4) Prompt tools: from “I can’t write prompts” to “I can iterate”
In my experience, prompt tools aren’t valuable because they generate longer English text. They’re valuable because they give you a runnable starting point you can iterate on:
Sora 2 Prompt Generator: turn ideas in any language into more professional English video promptsNano Banana Pro Prompt Generator: expand simple descriptions into controllable image prompts (style, details, elements)Video Reverse Prompt: upload a video or a YouTube link to analyze and reverse-engineer prompts (more of a learning tool)
How I use it (coarse → fine):
- Write one sentence in my own language
- Generate the first English prompt draft
- Add camera language and pacing (e.g., slow dolly-in, handheld, bokeh)
- Reuse the same style words and run multiple variations to compare quickly
For beginners, this reduces the “first output frustration.” For experienced users, it’s simply a great draft accelerator.
5) Image generation: Nano Banana Pro feels like a controllable production tool
For the cover image, I used Nano Banana Pro. It supports text-to-image and image-to-image, and allows multiple reference images (officially up to 8). That matters a lot when you want consistent brand style—you’re not relying purely on luck.
My recommended workflow:
- Start with text-to-image to find the visual direction
- Use image-to-image to pull results toward a consistent style
- For series assets, multi-reference tends to be much more stable
6) Pay As You Go + credits: friendlier for occasional users
Many creation tools lock you into subscriptions. NANO PHOTO emphasizes Pay As You Go, which fits project-based or occasional needs better: finish the assets and stop—no paying for idle months.
The Pricing page also clearly centers around credits and packages (exact prices and promos may change—always refer to the live page).
7) The 3 experience highlights (for me)
- Navigation matches the creation workflow: pick the task first (video/image/prompt), then refine—no “giant toolbox” syndrome.
- Prompt assistance is genuinely useful: not “writing an essay,” but giving you a runnable v1 that you can iterate.
- Inspiration → output in one place: Trending/Showcase/Prompt Market matter because they keep the “input → output” loop alive.
8) A quick start route for first-timers (the path I used)
- Need a fast result: start with
Sora 2(text-to-video) and run 3 variations to pick a direction - Can’t write prompts: use
Sora 2 Prompt Generatorto get a first English prompt - Want a fuller story: switch to
Veo 3.1or go straight toSora Storyboard - Need a cover image / key visual: use
Nano Banana Proto lock style first, then unify with reference images
If you’re a creator, marketer, indie builder, or educator who needs frequent content output, this “one-stop workflow” is simply easier. If you only need a campaign video or a set of images occasionally, the Pay As You Go model is also less painful.
Closing thoughts
I’d describe NANO PHOTO as an “AI creation workbench.” It doesn’t try to turn you into a prompt engineer—instead, it lowers the barrier and gets you into the try → refine → ship rhythm faster. If you care about delivery speed as much as I do, that positioning really lands.
작성자

카테고리
관련 글

화면을 자르지 않고 하드 자막 제거하기
영상에 합쳐진 자막을 제거한 뒤 움직임, 화면 크기, 오디오와 압축 상태를 확인하는 방법을 기존 제품 데모와 함께 설명합니다.
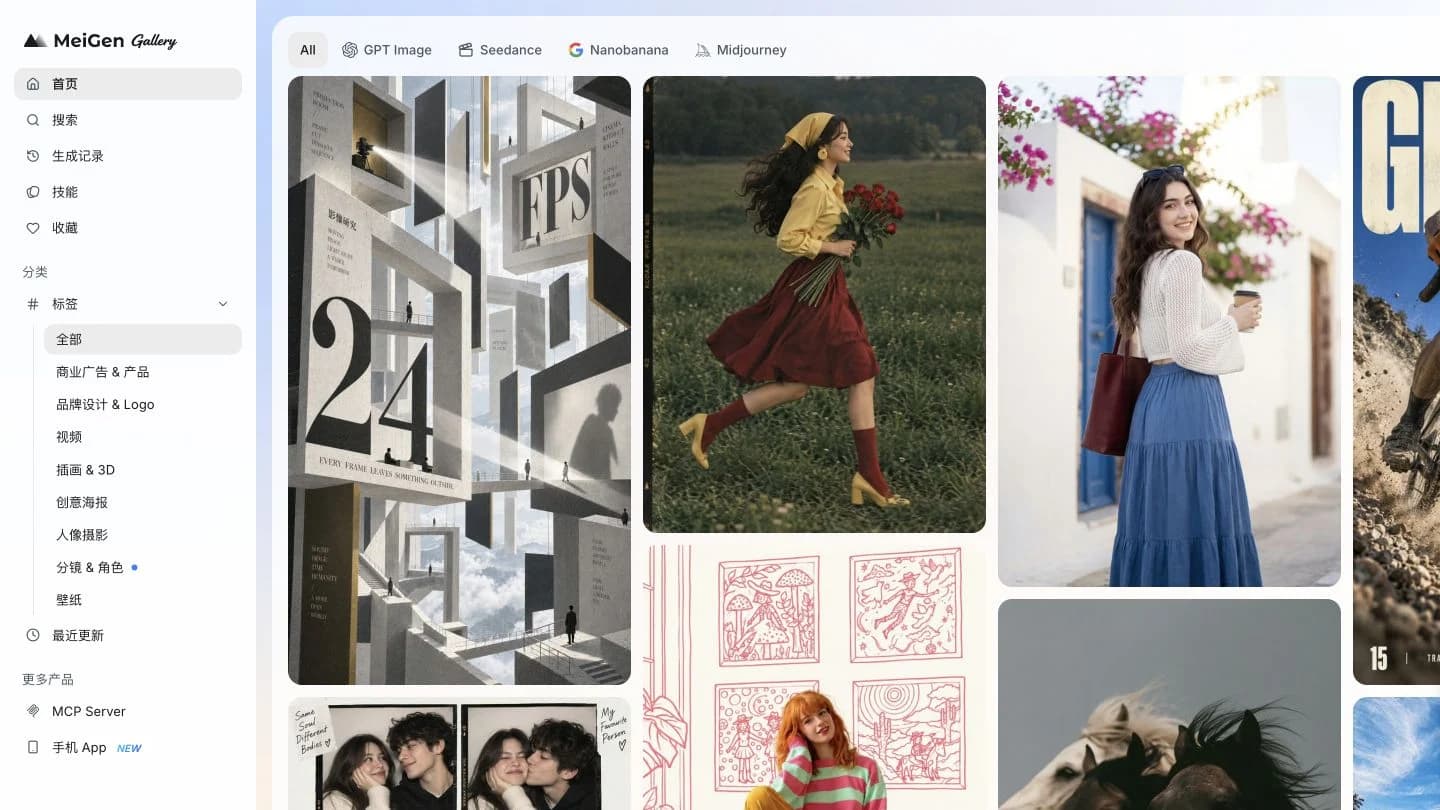
Meigan AI 2026 리뷰: MeiGen 사용법과 실제 이미지 생성 결과
실제 화면으로 따라 하는 MeiGen 튜토리얼. 프롬프트 선택부터 제품 이미지 생성까지, 설정·크레딧·무료 이용 범위와 결과를 확인하세요.

YouTube 영상을 샷별 프롬프트로 만들기
참고 영상을 샷별로 나누고 동작, 카메라 움직임, 조명과 연속성을 확인해 AI 영상용 프롬프트를 작성하는 방법입니다.
뉴스레터
커뮤니티에 참여하세요
최신 소식과 업데이트를 위해 뉴스레터를 구독하세요