
Video-to-prompt vs manual shot breakdown
Choose between manual shot lists, general AI analysis and a dedicated video-to-prompt tool. Compare editing control, review effort and reusable output.
If you need one important shot described accurately, watch it and write it down. If you keep sorting through short references, an automatic draft may save work. The question is how much fixing remains after the draft arrives.
For this comparison, stop the timer when you have a brief you would actually use. A fast answer that confuses a hand movement with a camera move still needs another pass.
Start with the job, then choose the tool
A spoken transcript can help with dialogue. It will not tell you how the camera moved during a silent close-up. A cut detector finds likely boundaries, while a video-to-prompt tool tries to describe what happens inside them.
| Approach | When it is useful | Work left for you |
|---|---|---|
| Manual shot list | A few shots where timing and continuity matter | Watch, mark cuts and write descriptions |
| General video-capable AI | You want to ask follow-up questions or change the output format | Check input support and verify the answer |
| Dedicated video-to-prompt tool | You repeatedly turn short references into draft prompts | Correct missed details and adapt the wording |
| Cut detection plus analysis | You have many clips and need repeatable boundaries | Tune detection and describe each segment |
PySceneDetect documents the detection and splitting step. It is not a substitute for deciding what the actor is doing.
Check whether your source fits the input
The NanoPhoto.AI upload tab below is a screenshot of the public interface. It shows where a local reference file goes. For YouTube sources, switch tabs instead of pasting the watch-page address into a file-upload workflow.

Before choosing an approach, write down the detail you cannot lose. In a product close-up it may be the package shape or the hand opening it. In a montage it may be the cuts. With a recurring character, it may be the sleeve, lighting or direction of movement.
That gives you something to judge. “A vivid description” is otherwise too easy to mistake for an accurate one.
Give each approach the same short clip
Choose footage you can use, with a few cuts, a camera move and one action that matters. Keep the file, duration and intended deliverable the same.
Make a manual reference sheet first. Mark the cuts and visible actions, and leave uncertain details uncertain. Then save the original output from each approach before you edit it. Keep the corrected version as well.
For systems that accept instructions, try this:
Describe the reference shot by shot. Give approximate time ranges,
framing, subject, visible action, camera movement and lighting.
Mark uncertainty. Write one editable prompt per shot.
Keep observed details separate from suggested creative changes.
If a dedicated tool does not have an instruction field, judge its default output using the same checks. The three-shot tutorial has a worksheet you can reuse.

Count corrections, not adjectives
Record the matched, missed and extra cuts. Note unsupported actions, changing objects and contradictory instructions. Then count the minutes spent checking and rewriting. Add analysis and retry charges; keep the cost of generating new videos separate.
| You notice | What to record |
|---|---|
| Two shots became one | Missed boundary and its timestamp |
| A moving cup became a moving camera | Incorrect action description |
| The same sleeve changes color | Continuity correction |
| A polished paragraph takes ten minutes to fix | Actual review time |
| You rerun the analysis | Extra time and any charge |
Suppose a clip has ten verified cuts and an answer catches eight. Record eight out of ten for that clip, with your timestamp tolerance. It is not enough evidence for a general accuracy claim. Keep ambiguous fades outside the main count.
If you also generate videos, compare them with similar settings. A good description can produce a poor clip, and a good-looking clip can depart from the reference. Track those errors separately so you know what to change.
Keep the manual part where it earns its time
For one important scene, inspect the source yourself and use AI to help with wording. For recurring short clips, an automatic draft plus the same review checklist is worth trying. For an archive, separate cut detection from description and prompt writing so a failure is easier to locate.
There is no need to automate a ten-second note that you can write accurately by watching once. Equally, there is little value in manually repeating a setup that a tool already handles well. Use your own correction log to make the choice.
Where does subtitle removal belong?
Treat it as a separate preparation step if text hides something you need. Check the cleaned full-frame video before using it as the next reference.
NanoPhoto.AI makes the dedicated tool shown here. The interface was captured on September 10, 2026. This guide proposes a comparison method; it does not report a timed product test. Writing and the cover used AI assistance.
More Posts
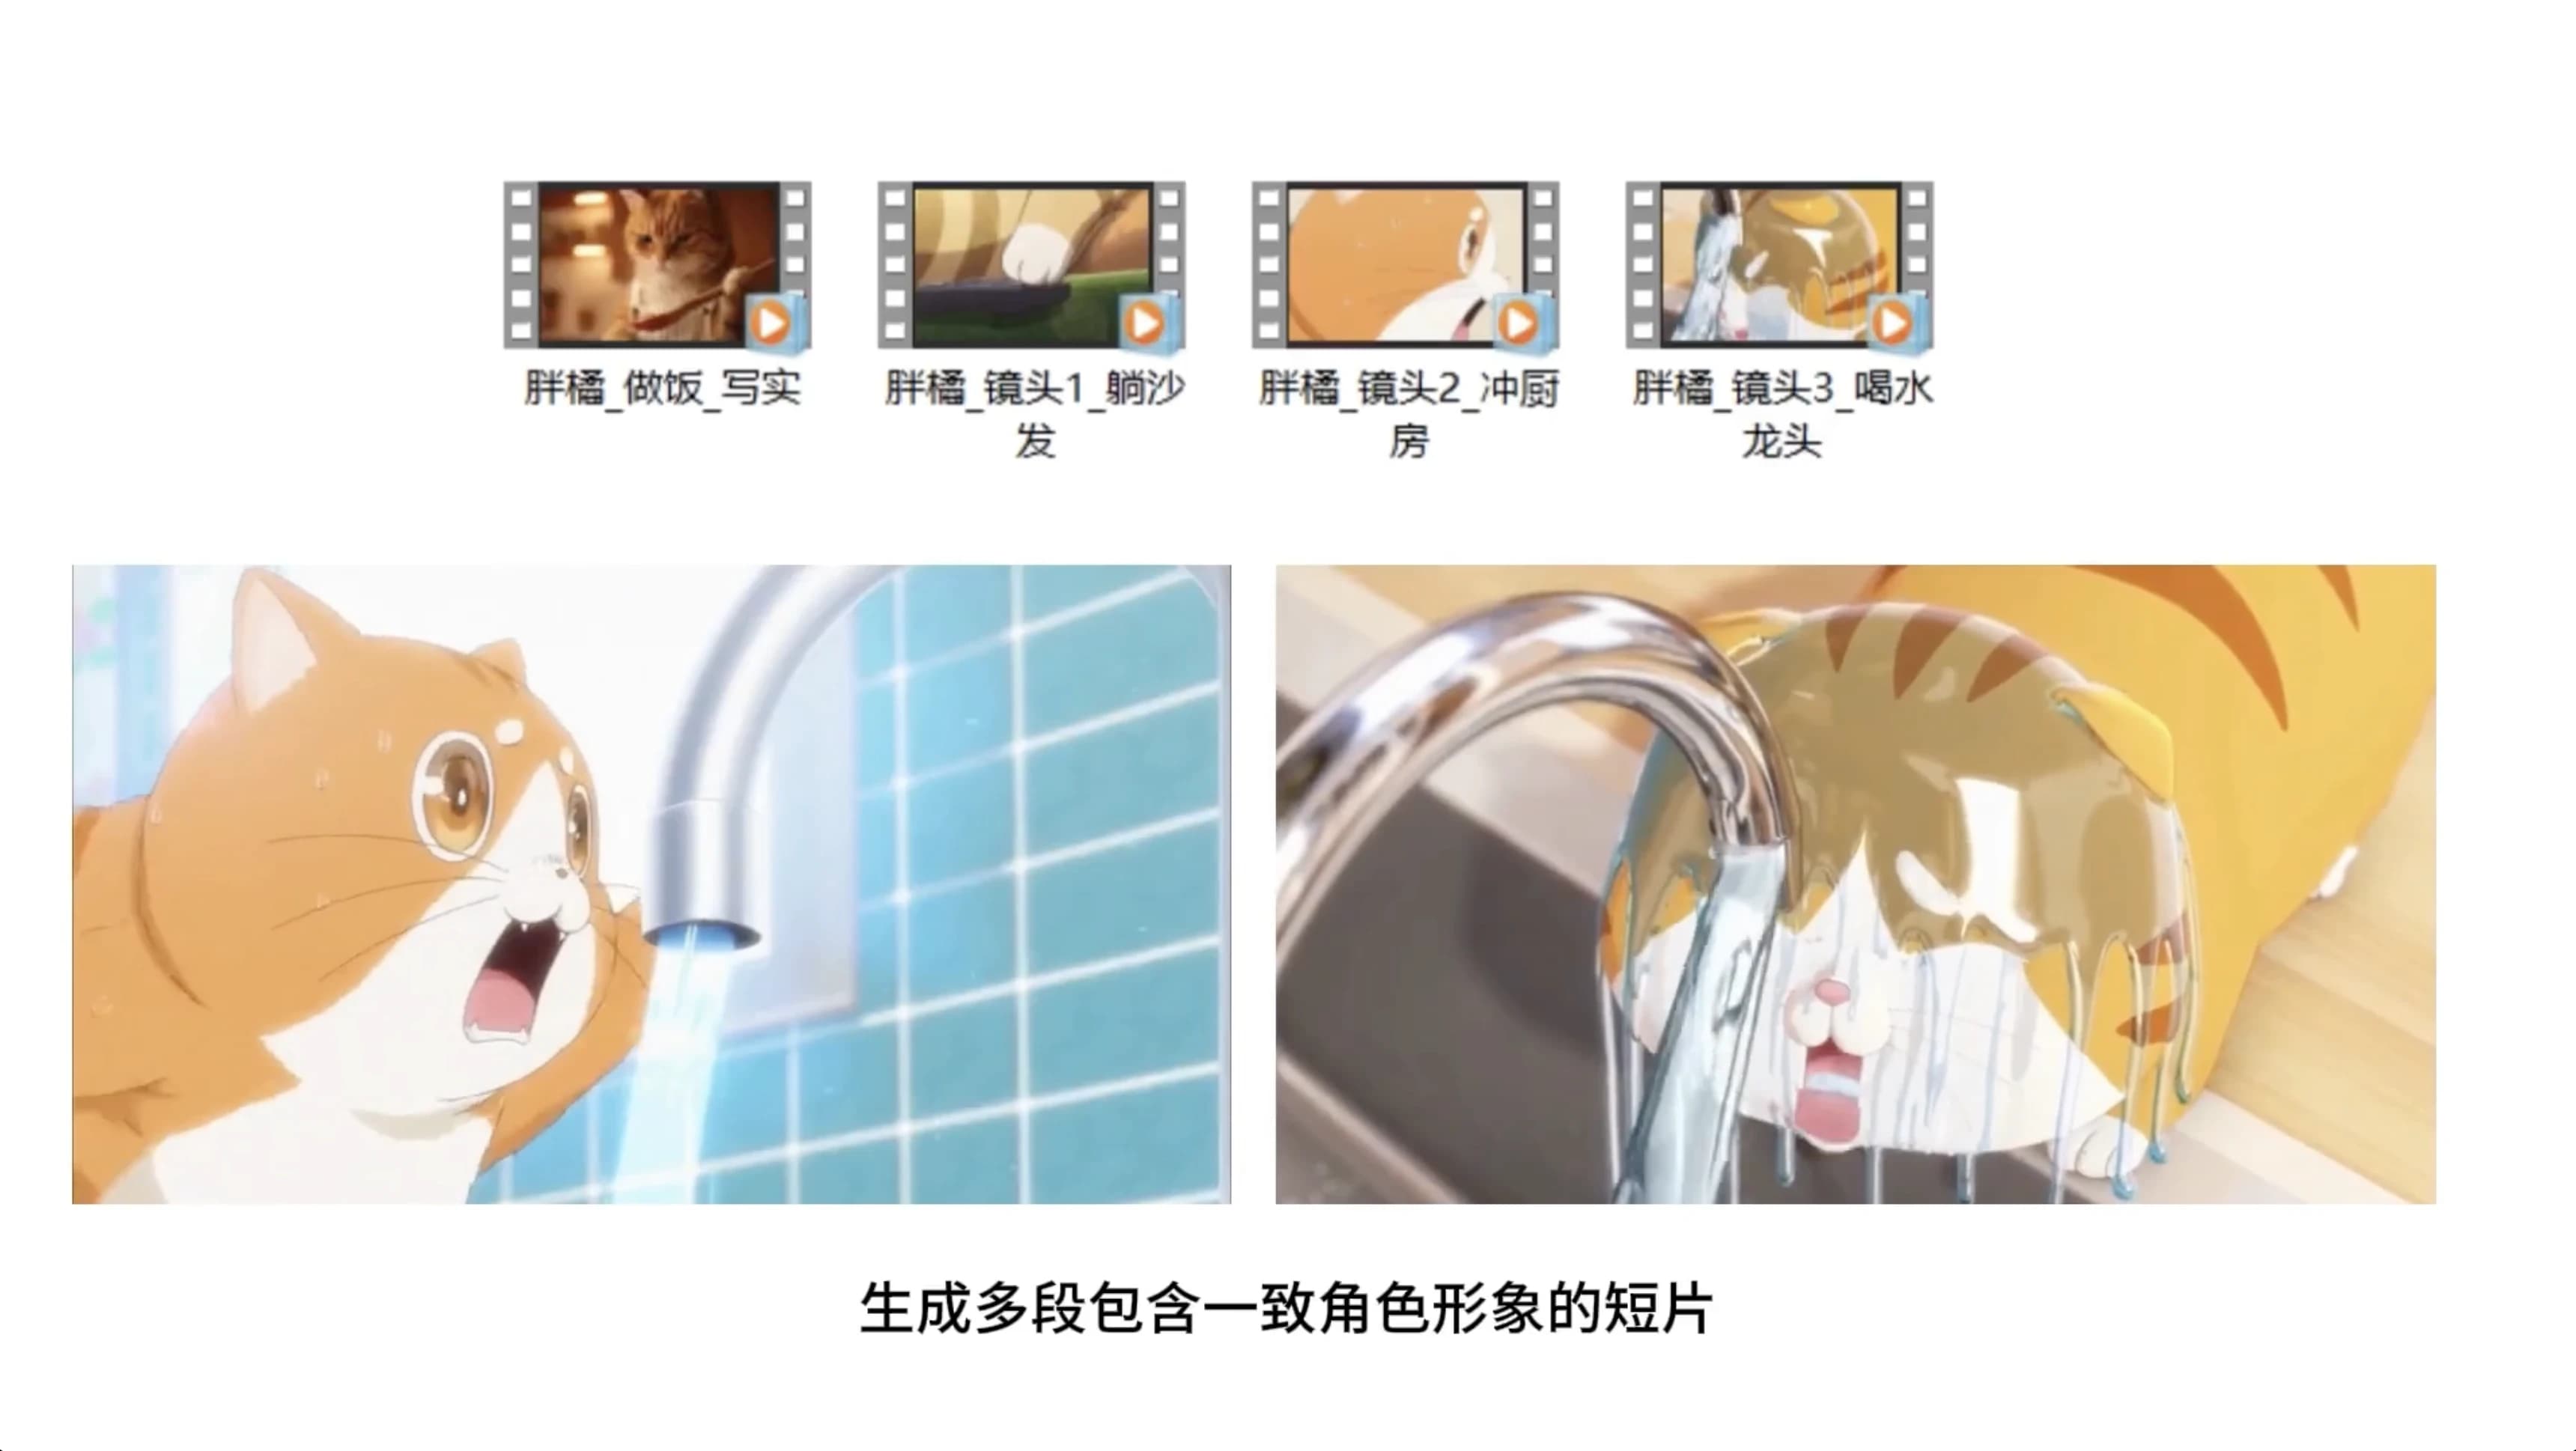
NanoPhoto.AI Now on OpenClaw — Create Comic Dramas, Images & Videos Right from Chat
NanoPhoto.AI launches OpenClaw skills: generate Sora 2 videos, Veo 3.1 long-form videos, Nano Banana Pro images, and produce full comic dramas — all from Telegram, Feishu, WeChat and more.

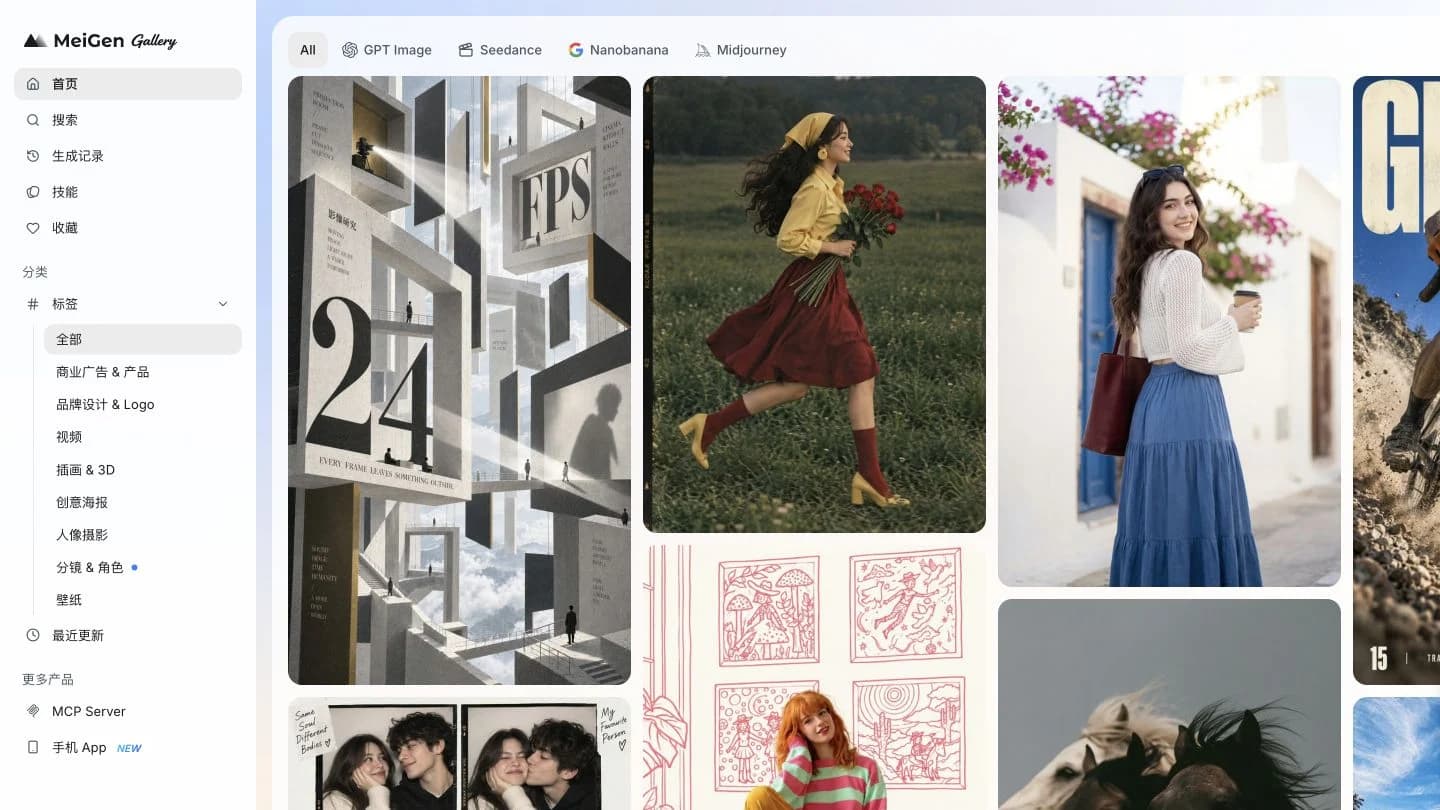
Meigan AI 2026 Review: A Hands-on MeiGen Tutorial
A real MeiGen walkthrough with screenshots: choose a prompt, generate a product photo, inspect the result, and understand credits, pricing and limitations.
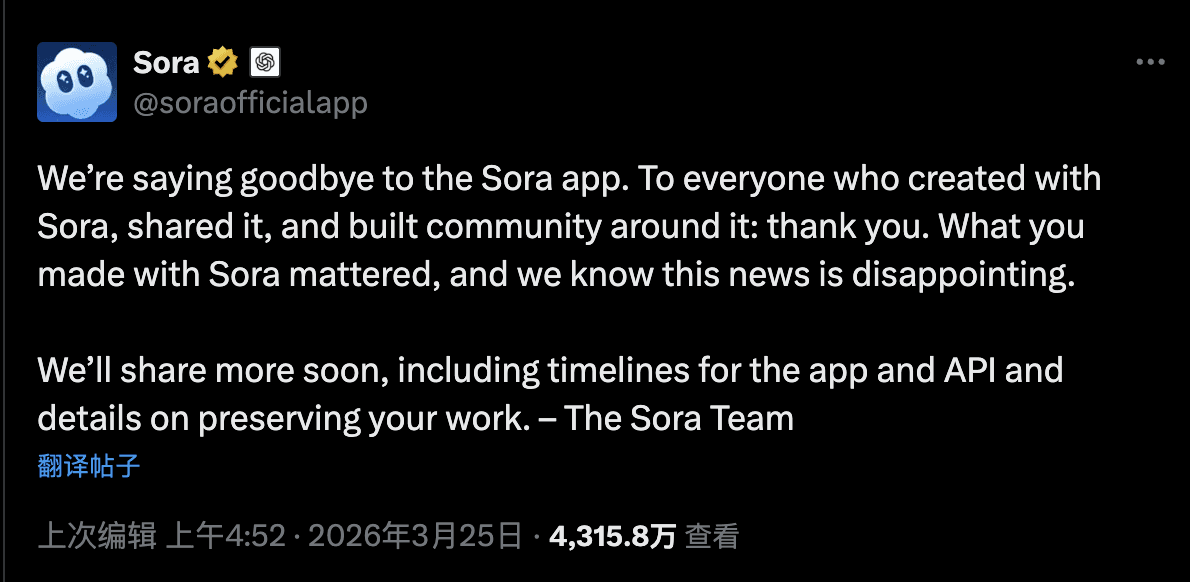
OpenAI Sora Is Shutting Down — Here's the Best Alternative for AI Video in 2026
OpenAI officially announced Sora's discontinuation. We break down what happened, what it means for creators, and why Google Veo 3.1 is now the go-to AI video generator.
Newsletter
Join the community
Subscribe to our newsletter for the latest news and updates