
Remove burned-in subtitles without cropping
Keep the full frame when removing burned-in subtitles. Learn how to choose a test clip, inspect motion artifacts, and check the downloaded video.
The subtitles have disappeared. The sleeve underneath them now looks like wet paint. Would you deliver that video?
That is the useful test for removing burned-in subtitles without cropping. Keeping the full frame is only part of the job. You also need to check the reconstructed area while it moves, then check the downloaded file's picture and sound.
First try turning the captions off
If CC removes the text, you have a separate caption track. Disable it or export your editing project without it. YouTube's caption guide covers managing your own tracks.
Text that stays on screen may be burned into the picture. If you still have the editing project, export a clean copy there. Reconstructing hidden pixels is a fallback when the clean source is unavailable.
For a comparison of cropping, covering and other methods, see removing text from video. This article follows the full-frame repair through to the final check.
Choose a clip that is likely to reveal mistakes
Save the original. Then pick a short section where a subtitle appears or disappears and something moves behind it. Include a cut if the footage has one.
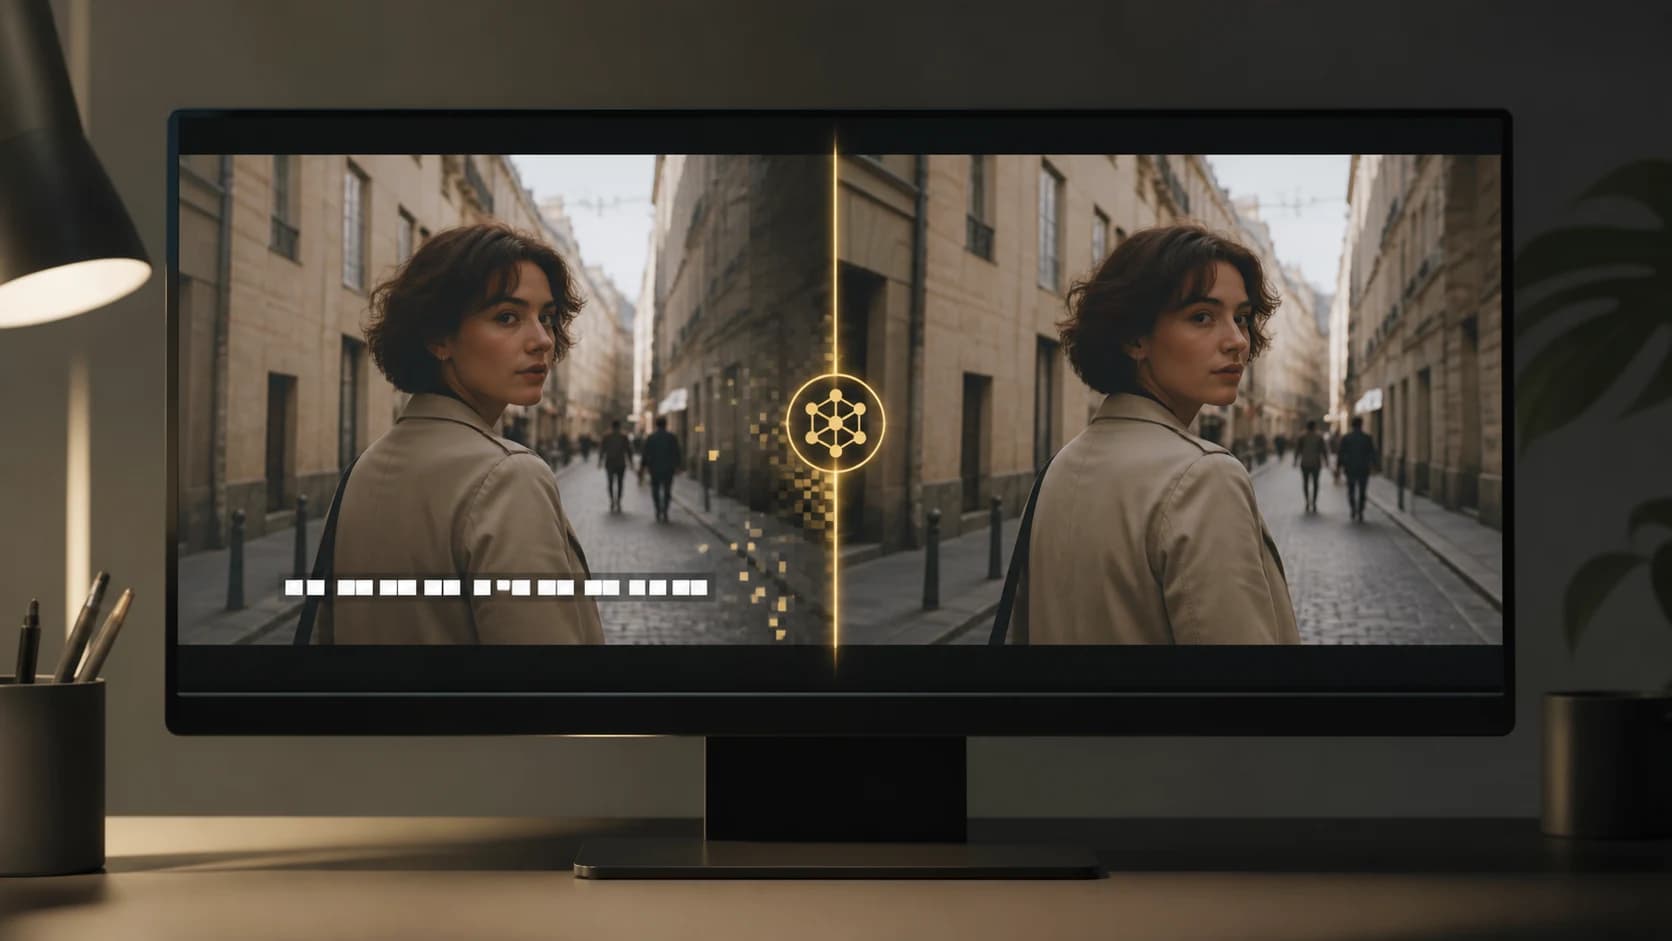
A blank wall is an easy place to start, but a clean patch on a wall tells you little about fingers or patterned fabric. The AI-generated cover illustrates those more demanding details; it is not an example of a processed result.
| Behind the text | Look for this after cleanup |
|---|---|
| A plain wall | Brightness changes or a patch that pulses |
| A hand or face | Altered fingers, mouth edges or expression |
| A textured sleeve | Missing weave or repeated patterns |
| A moving background | A repair that drifts away from its surroundings |
| A cut or fade | Old letters or a sudden change in the filled area |
Upload the sample
Open NanoPhoto.AI's subtitle remover. The upload control accepts a local video; the Video URL tab is for a publicly accessible media file. Check the displayed limits before choosing your sample.

Follow the form's current sign-in and credit prompts. The screenshot records the interface on September 10, 2026, so use the live form for today's allowance. Start with the representative sample before spending time on a longer export.
Move the comparison across the old text
The product page has a draggable before-and-after demonstration. Move its divider across the subtitle area, then look at nearby edges. A repair can erase the letters and still soften the chin, cuff or background beside them.

That screenshot shows an existing product demonstration. The clips below are also existing NanoPhoto demo media, not newly processed test clips. Use them to practice spotting differences; they do not predict the quality of every upload.
Original demo
Cleaned demo
Pause both clips at the same moment. Check a caption boundary, then play that section at normal speed. A still frame can look fine while the repair flickers during playback.
Download it before approving it
Compare source and output in your editor. Width, height and aspect ratio should fit the delivery you need; matching aspect ratios alone do not mean the same resolution. Check duration and frame rate too, especially near the ending.
Listen at the beginning, middle and end. If someone is speaking, watch their mouth while you listen. A visual preview cannot tell you whether the audio stayed in sync.
Finally, replay the repaired region at normal speed and slowly. Note each defect with a timestamp: “00:04, left sleeve becomes smooth” is more useful than “the quality feels worse.” Look for extra blockiness or banding as well. Re-encoding can change compression even outside the repaired patch.
When the hidden detail matters too much
If text covers a face throughout a shot, the file may never show what was underneath. A plausible replacement is still a replacement. For important footage, look for a clean master or choose a less obstructed shot.
A desktop workflow with masks and tracking can help with a localized defect. Adobe's Content-Aware Fill guide explains that approach and reference-frame correction. It takes more manual work and cannot guarantee recovery of unseen detail.
Does “without cropping” mean lossless?
No. It describes the framing. Repair changes pixels, and exporting can add compression. Keep the original until the edited file passes your checks.
Can I add a new translation afterwards?
Yes. Check the cleaned picture first, then add the translated captions. Keep the new subtitle file separately so the next language does not need another repair.
NanoPhoto.AI makes the linked tool. Public interface screenshots were captured on September 10, 2026. Writing and the cover used AI assistance. The before-and-after media comes from our existing demos.
Author

Categories
More Posts
How to Remove Text from a Video: 4 Practical Methods
Learn how to remove text from a video by deleting subtitle tracks, cropping, covering, or cleaning burned-in captions with NanoPhoto.AI.

Video-to-prompt vs manual shot breakdown
Choose between manual shot lists, general AI analysis and a dedicated video-to-prompt tool. Compare editing control, review effort and reusable output.
H3 Max Turbo vs MiniMax H3: Speed, Quality, Resolution, and Which to Choose
How do H3 Max Turbo and MiniMax H3 differ? Compare speed, 480P/768P/2K output, duration, reference inputs, video editing, and the best use cases for each model.
Newsletter
Join the community
Subscribe to our newsletter for the latest news and updates